Accessing Data from External Clients (QGIS)
Install QGIS Desktop
-
Open the
Ubuntu Softwareapp
-
Click
CTRL + Fand search forqgis; click on theQGIS Desktopicon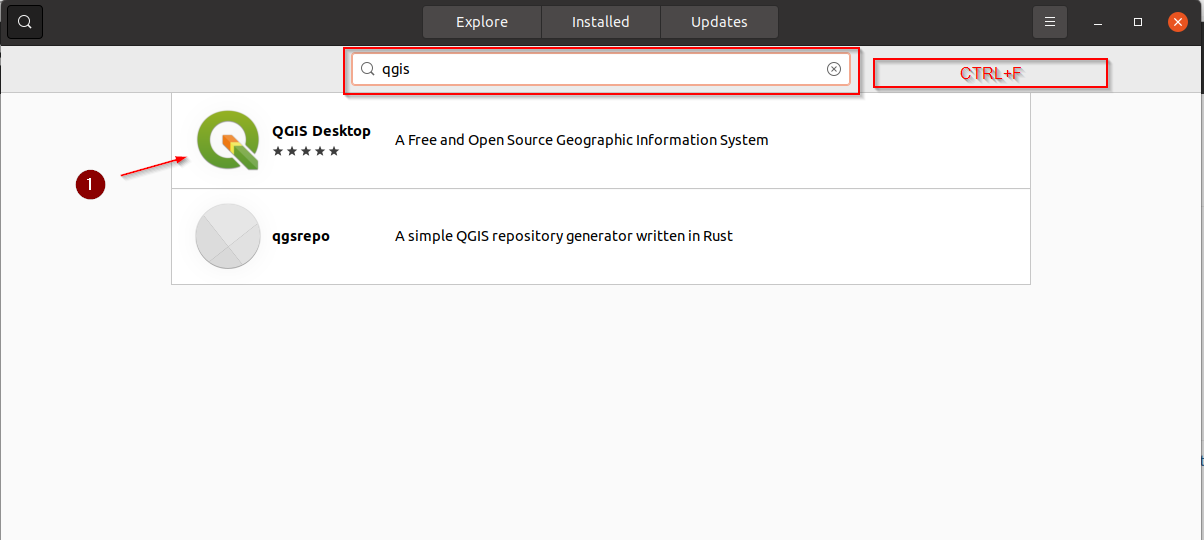
-
Click on
INSTALLand wait for the process to finish
-
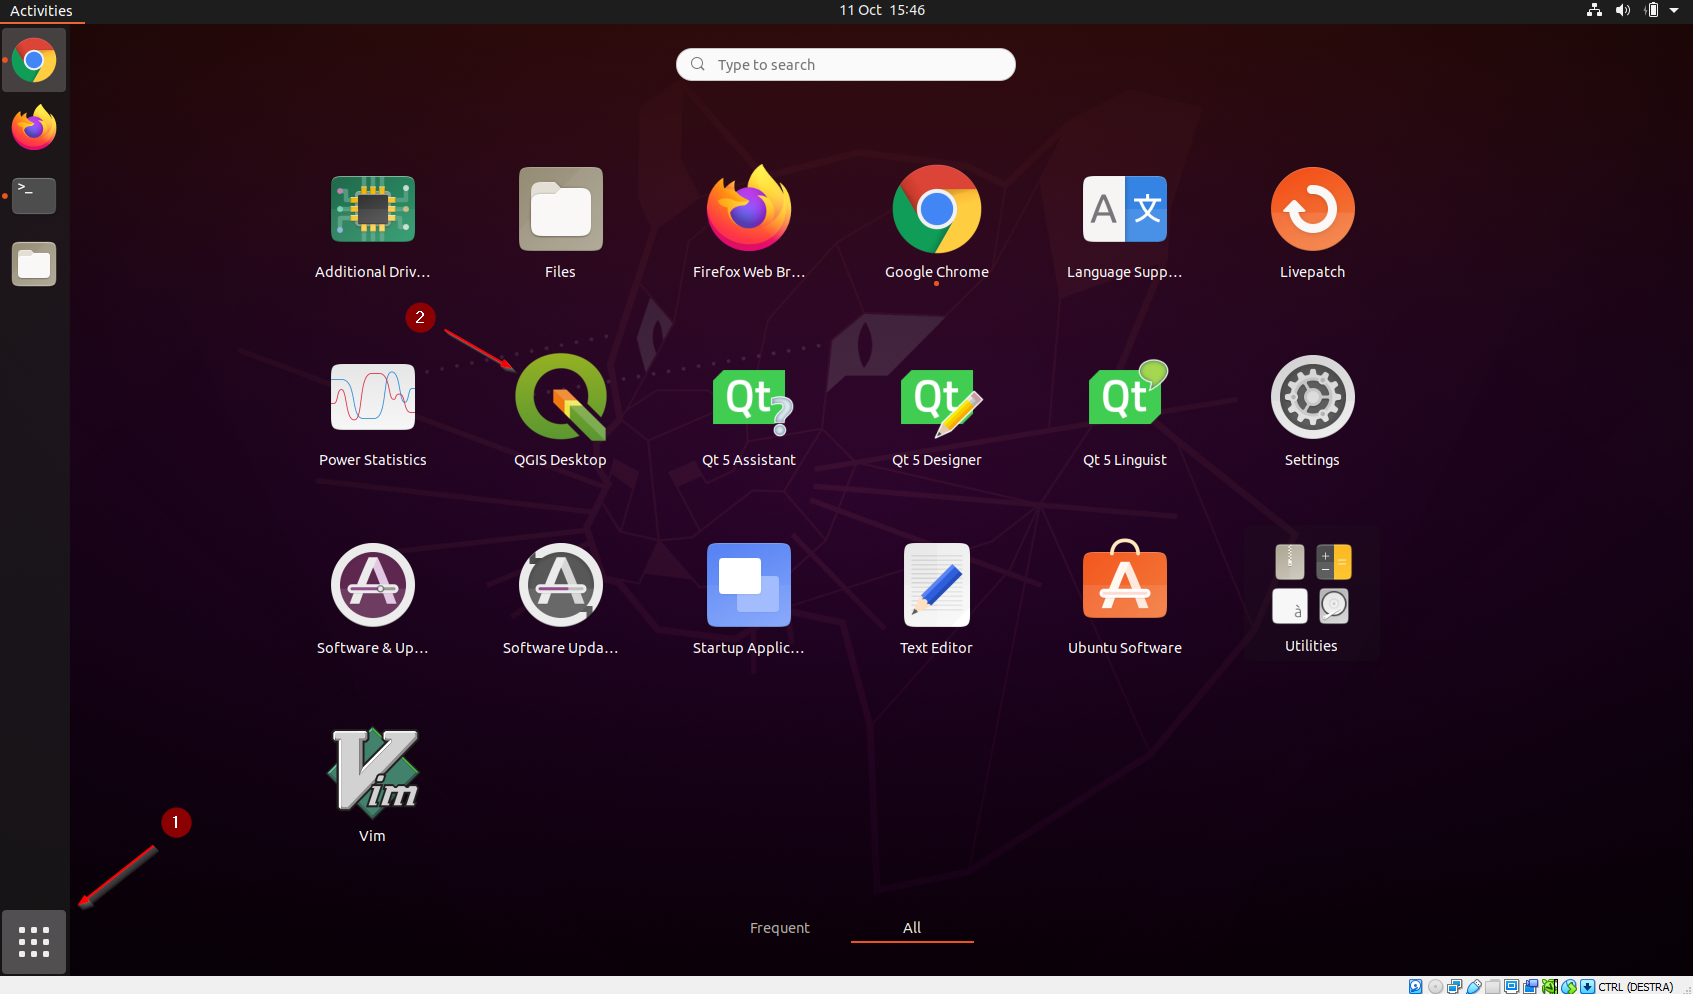
Once the app has been installed, open it by clicking on the icon
Connect through BASIC Auth
This is the easiest way to connect the client to GeoNode:
- Pros: very easy to configure
- Cons: it uses always a fixed user and you need to change it anytime if you want to switch it
-
Let’s add a
VECTORIALlayer accessible totest_user1to the client; click onLayer > Add Layer > Add WFS Layer...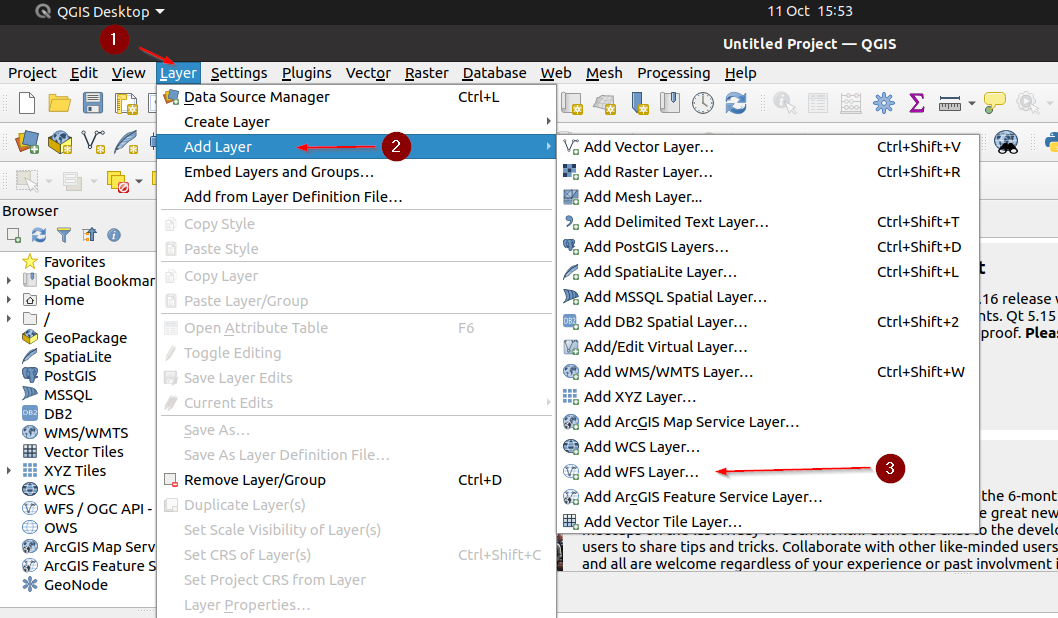
-
Create a
New Connection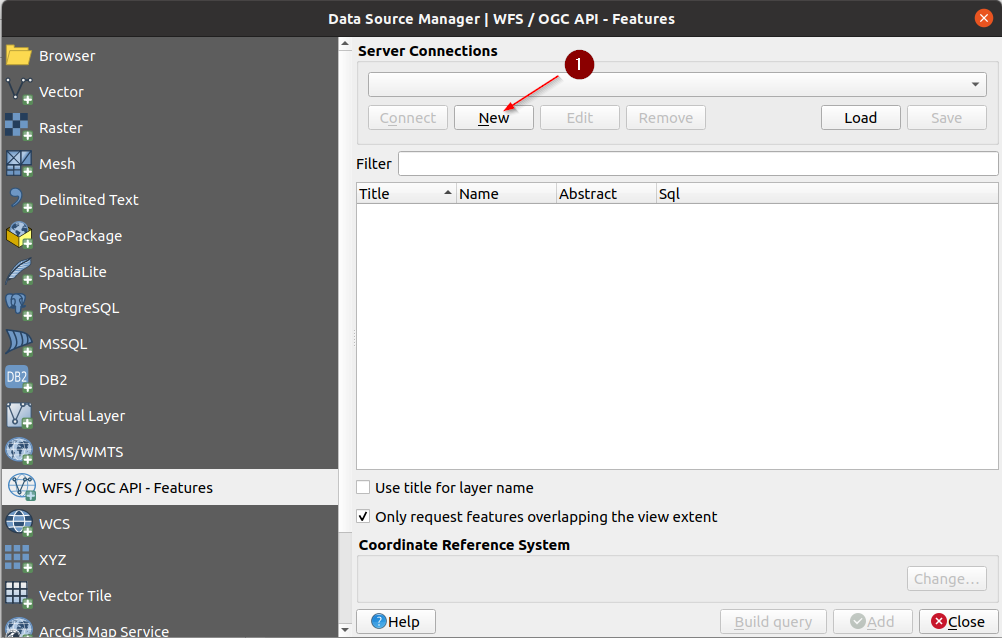
-
Provide a name, e.g.
GeoNode WFSand the following URL:http://localhost/gs/ows
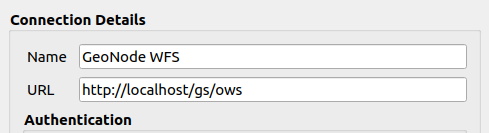
IMPORTANT: It is mandatory to pass through the GeoNode proxy
/gs/instead of hitting the GeoServer endpoint directly -
If the client asks for a
NEW master passwordyou can just provide anyone, e.g.geonode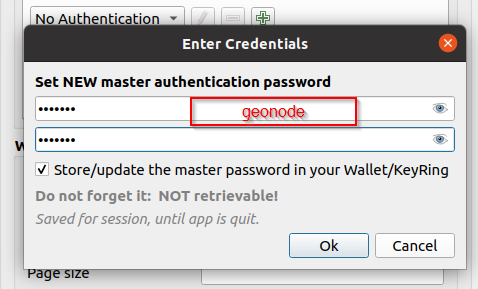
-
Switch to
Basicauthentication, provide thetest_user1credentials and click onConvert to configuration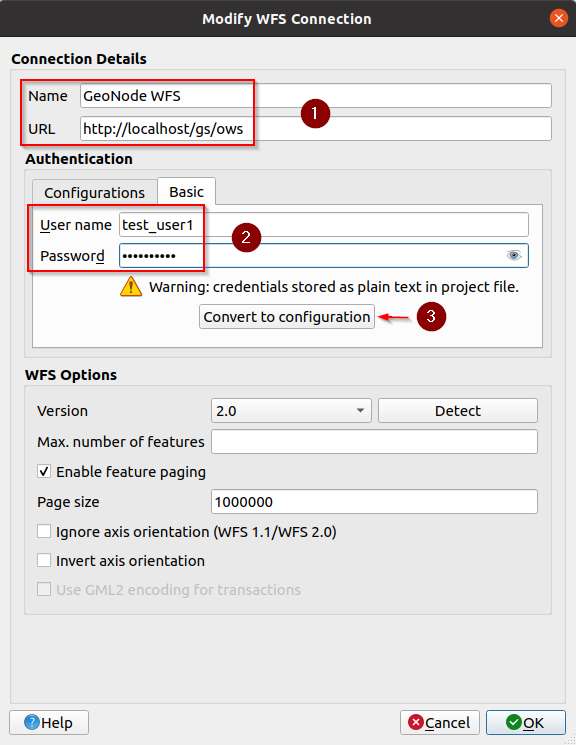
-
Make sure the converted configuration is selected and click on
Detectin order to verify that it works; click onOKwhen finished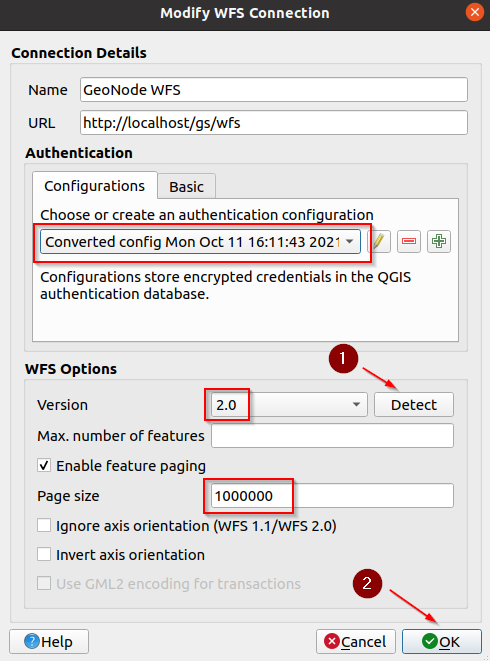
Connect through OAuth2
This is the easiest way to connect the client to GeoNode:
- Pros: difficult to configure
- Cons: it redirects to GeoNode to authenticate, so you can use any login provided by GeoNode
-
We need to prepare GeoNode first; as an
admingo to theAdmin Dashboardand look forDjango OAuth Toolkit > Applications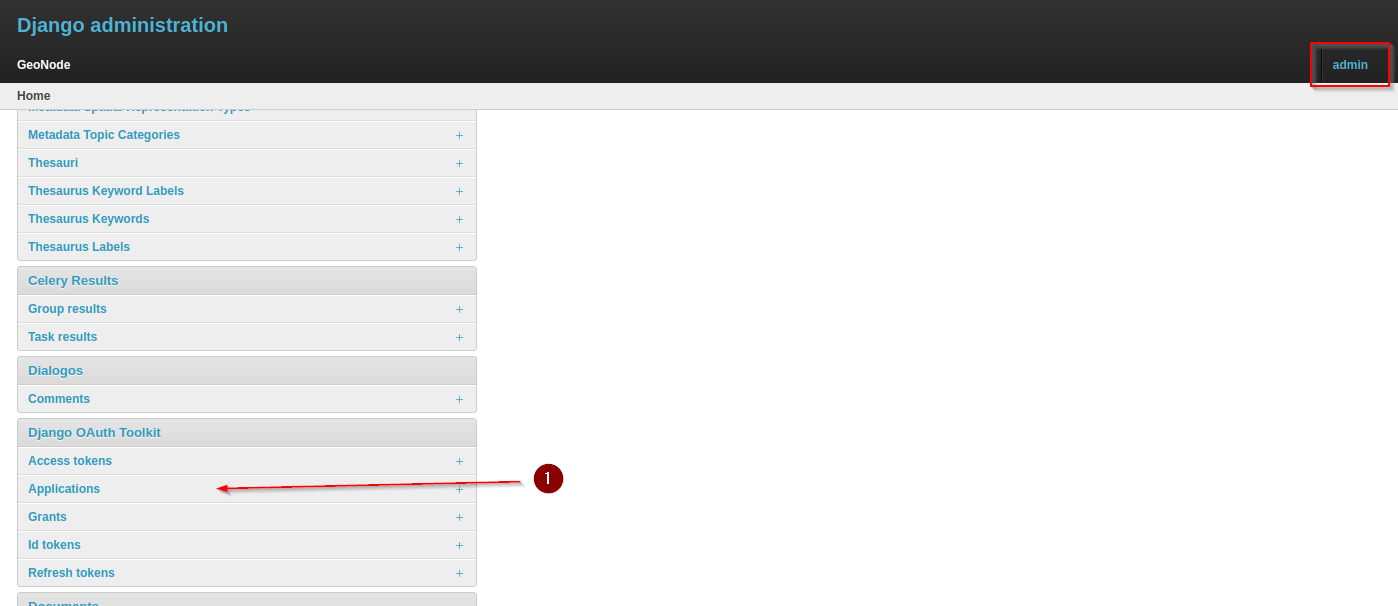
-
Edit the
GeoServerone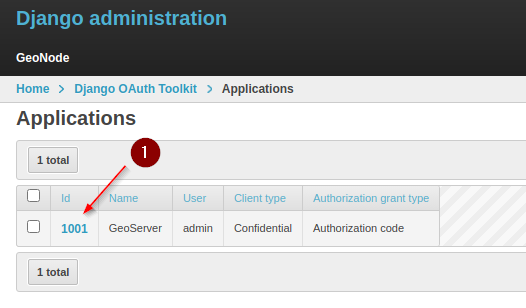
-
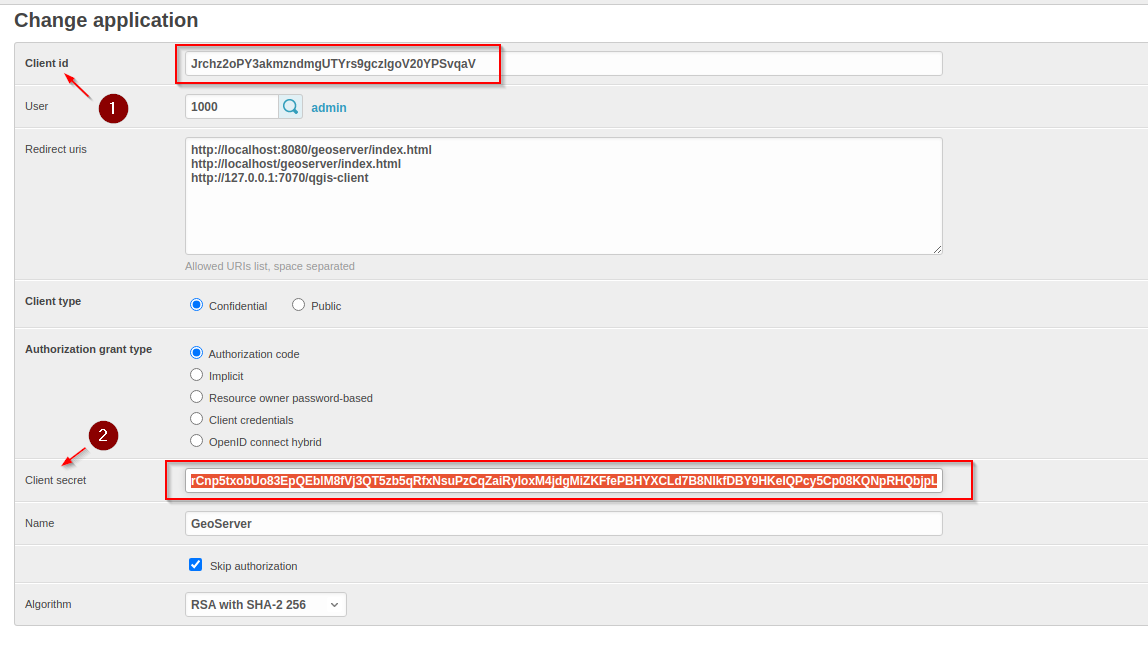
Add the following URL to the
Redirect URIssection and take note of theClient IDandClient Secretkeys:- Copy the Client ID / Client Secret
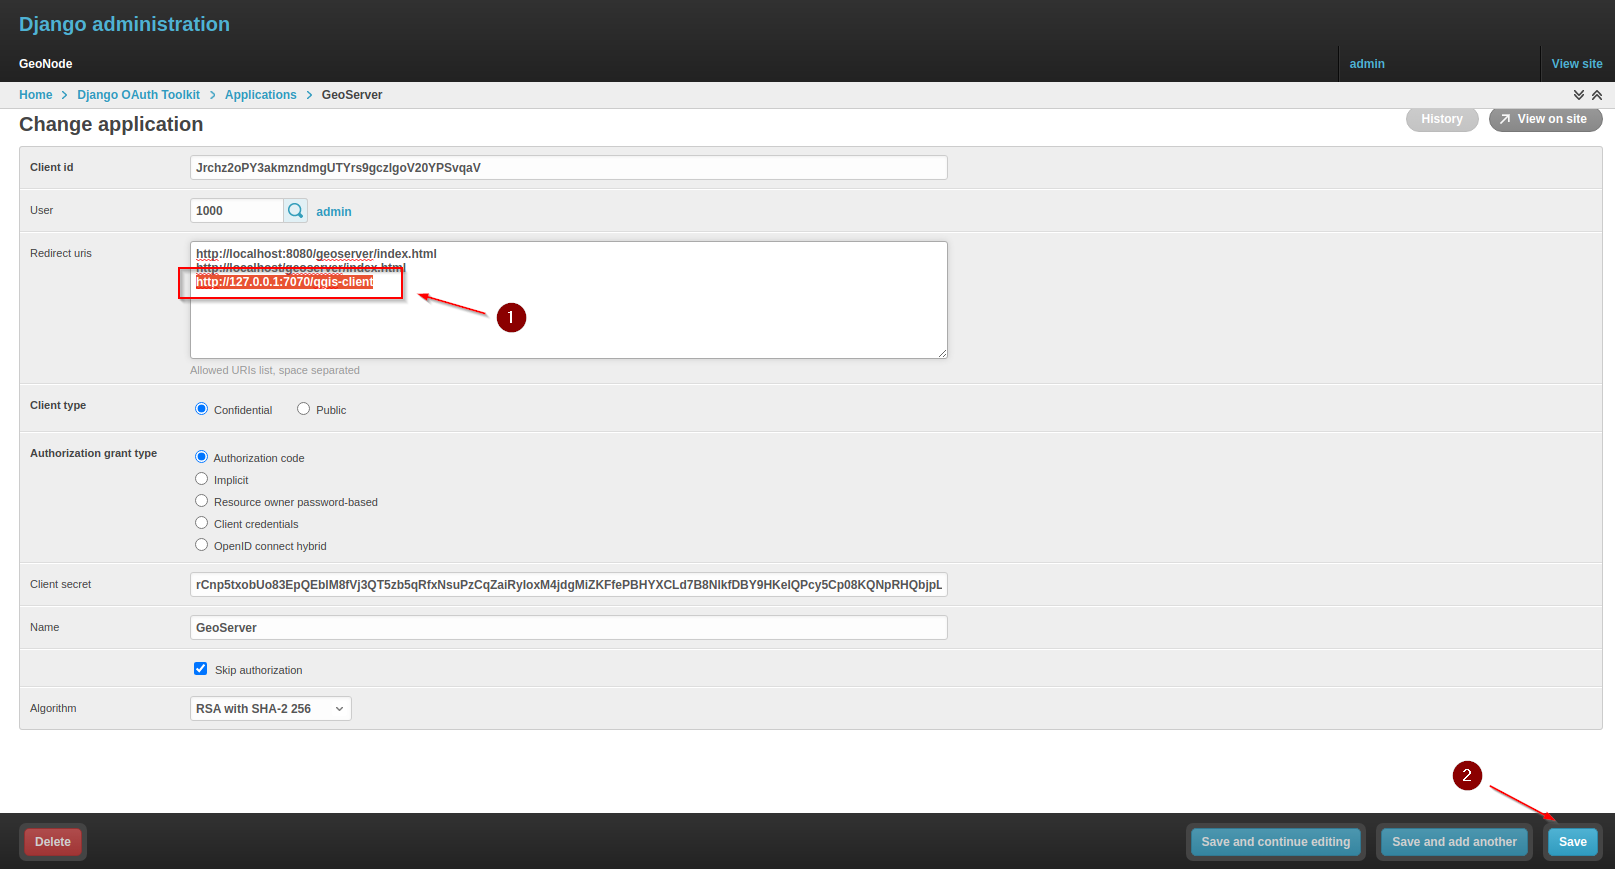
- Add Redirect URIs and Save:
http://127.0.0.1:7070/qgis-client
-
Let’s add a
VECTORIALlayer accessible totest_user1to the client; click onLayer > Add Layer > Add WFS Layer... -
Add a new
OAuth2 Authenticationconfig and fill the fields as follows:- Name: Provide any name you want e.g.
GeoNode OAuth2 - Grant Flow:
Authorization Code - Request URL:
http://localhost/o/authorize/(the/at the end is IMPORTANT!) - Token URL:
http://localhost/o/token/(the/at the end is IMPORTANT!) - Refresh token URL:
http://localhost/o/token/(the/at the end is IMPORTANT!) - Client ID / Client Secret: The ones above
- Scope:
openid write - Token session:
True - Access method:
Header - Token header: empty (*it is important you leave this param empty)*
- Save
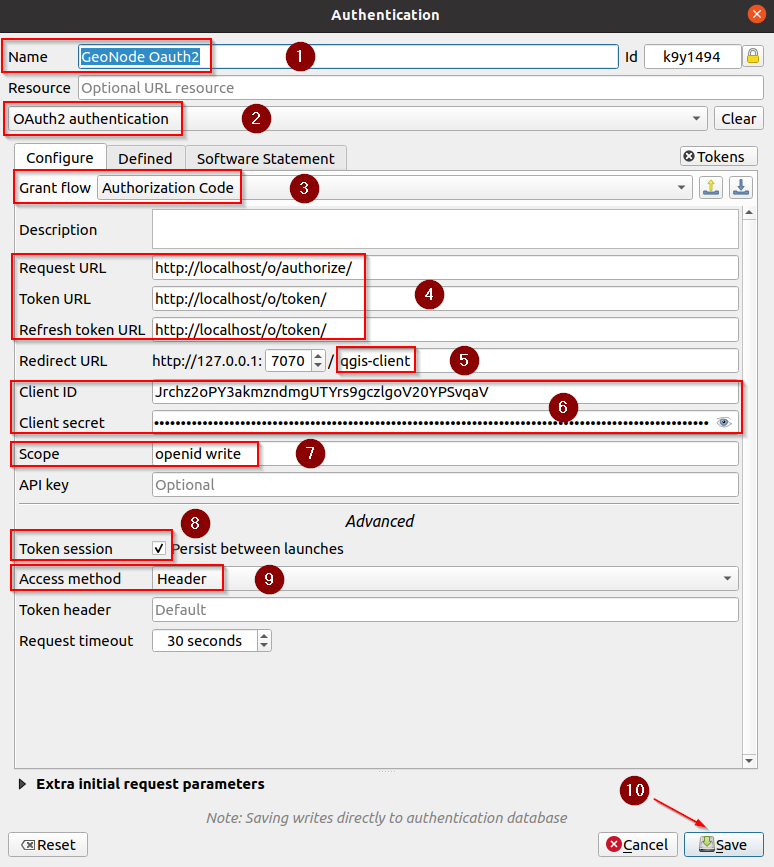
- Name: Provide any name you want e.g.
-
Make sure the new configuration is selected and click on
Detectin order to verify that it works; click onOKwhen finished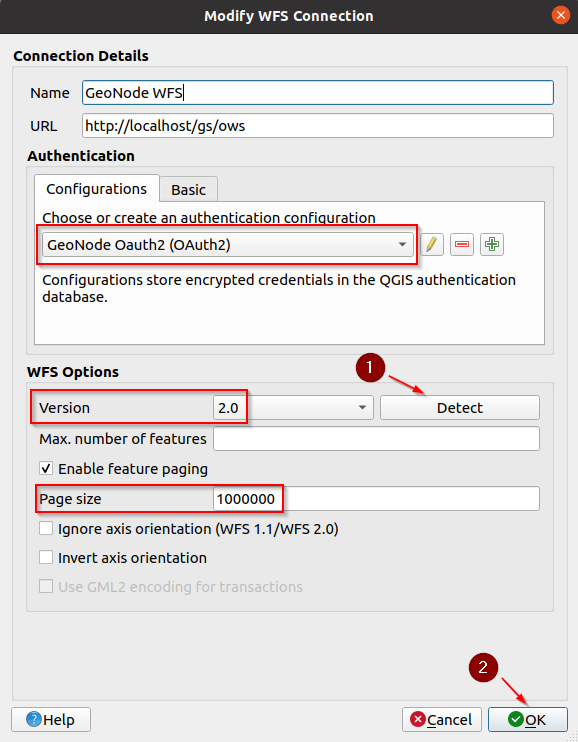
-
The client will open automatically a browser session, if you are not logged in, sign in with
test_user1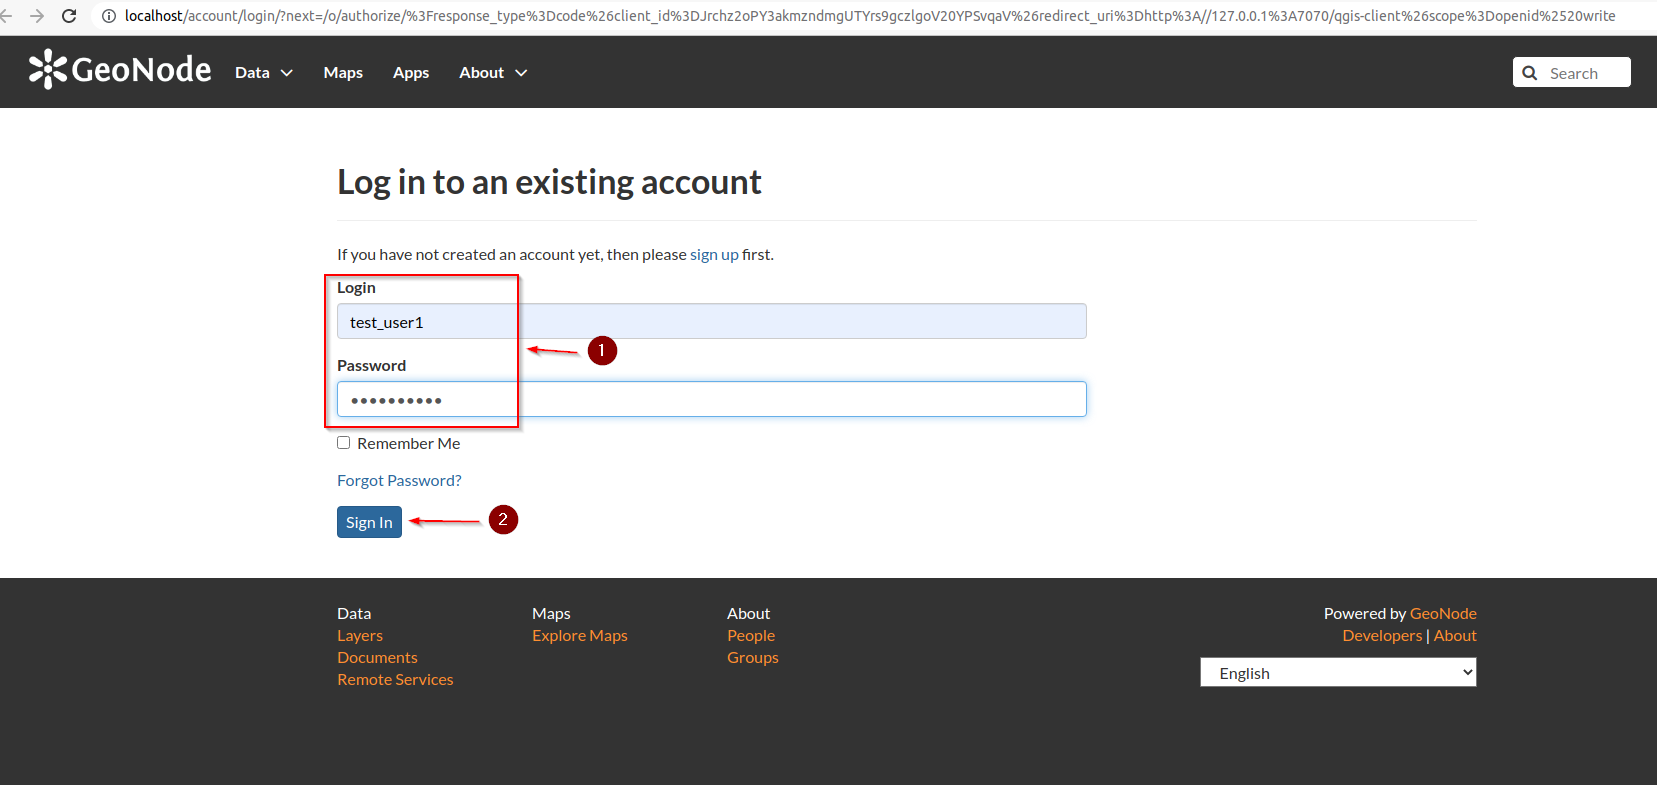
-
The window below means that the authetnication process was successfull; you can safely close it and go back to the client

Attach Layer to the Project
-
Once the connection has been configured and saved, whatever it is, go back to the
WFSpanel, select the connection you just created and click onConnect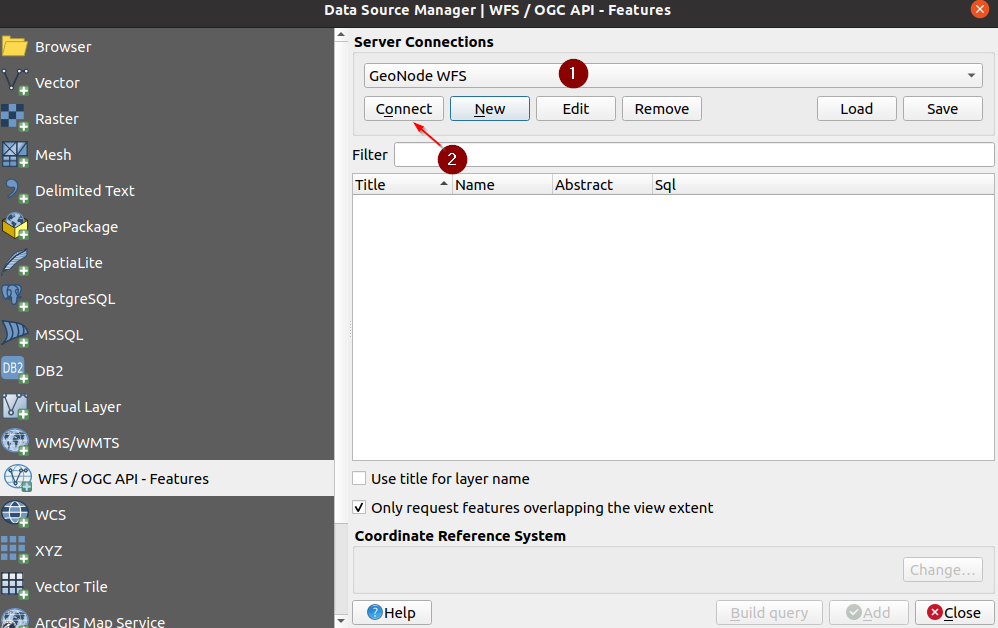
-
If everything goes weel, you should be able to see the server offering; it will list all the layers the user has access to

-
Select the
Test Layerand click onAdd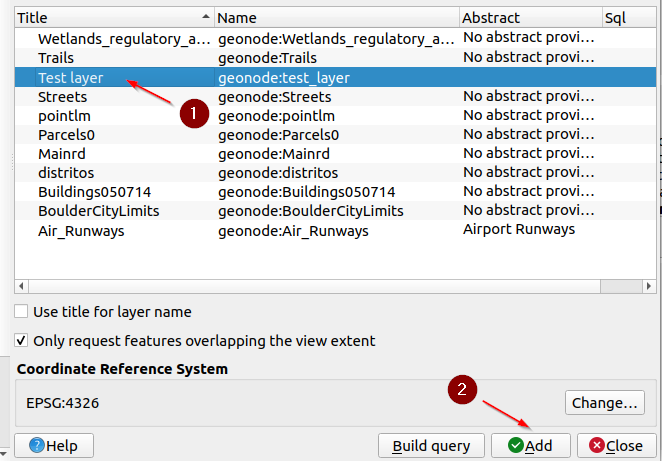
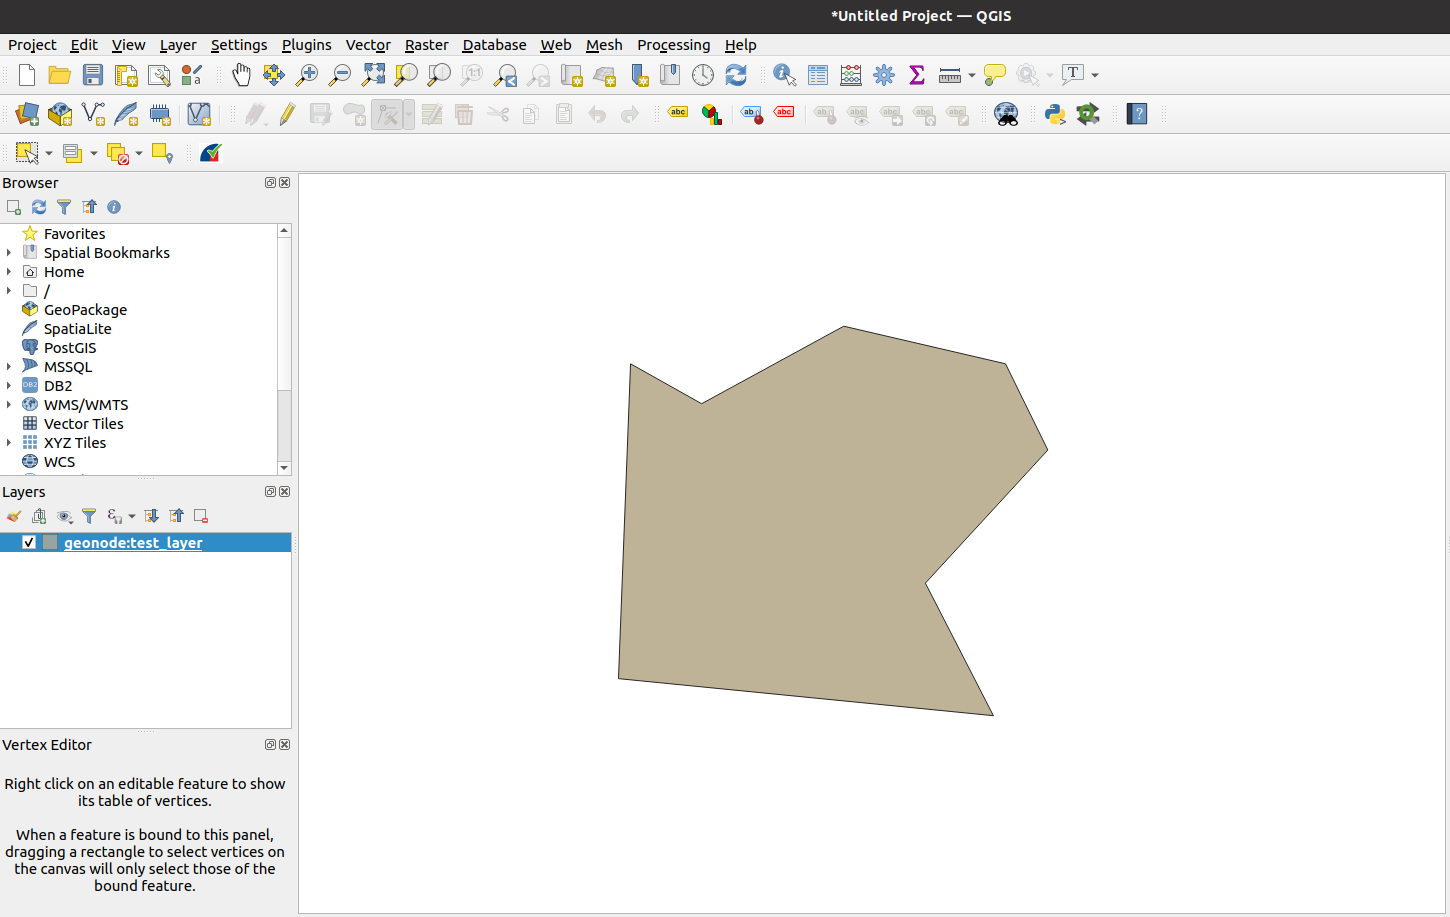
-
QGIS will create a new project with the layer already loaded and centered to the map
Editing Contents: Values
-
Enable
Editing Modeon QGIS and click on theInfobutton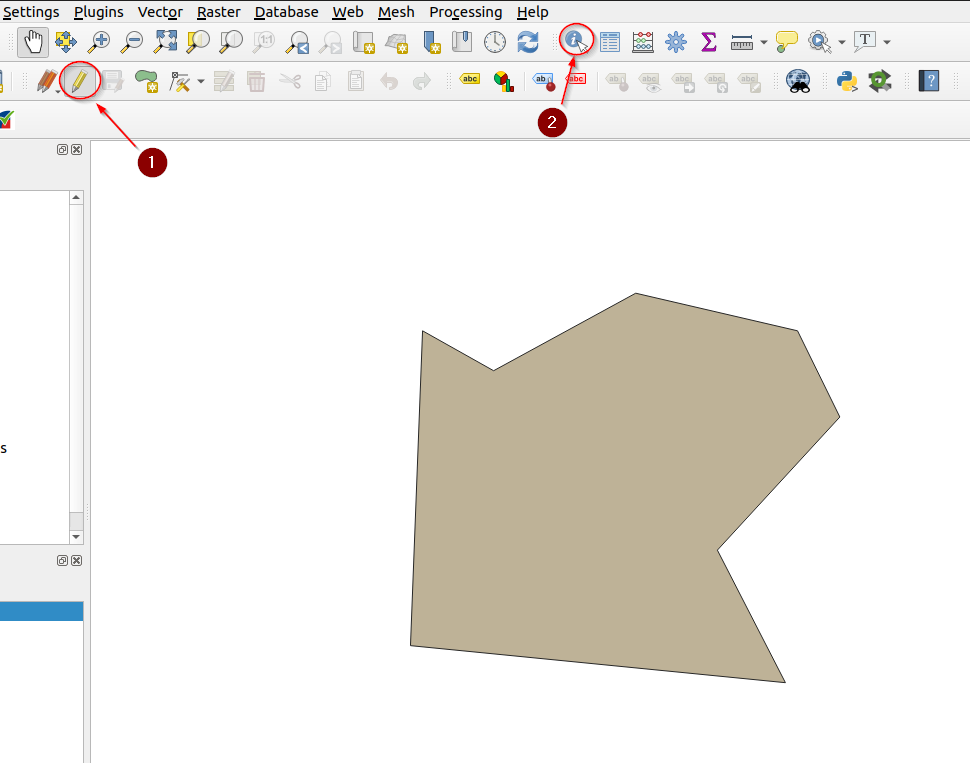
-
Click over the geometry to edit and, on the right panel, expand and click on the link
Edit feature form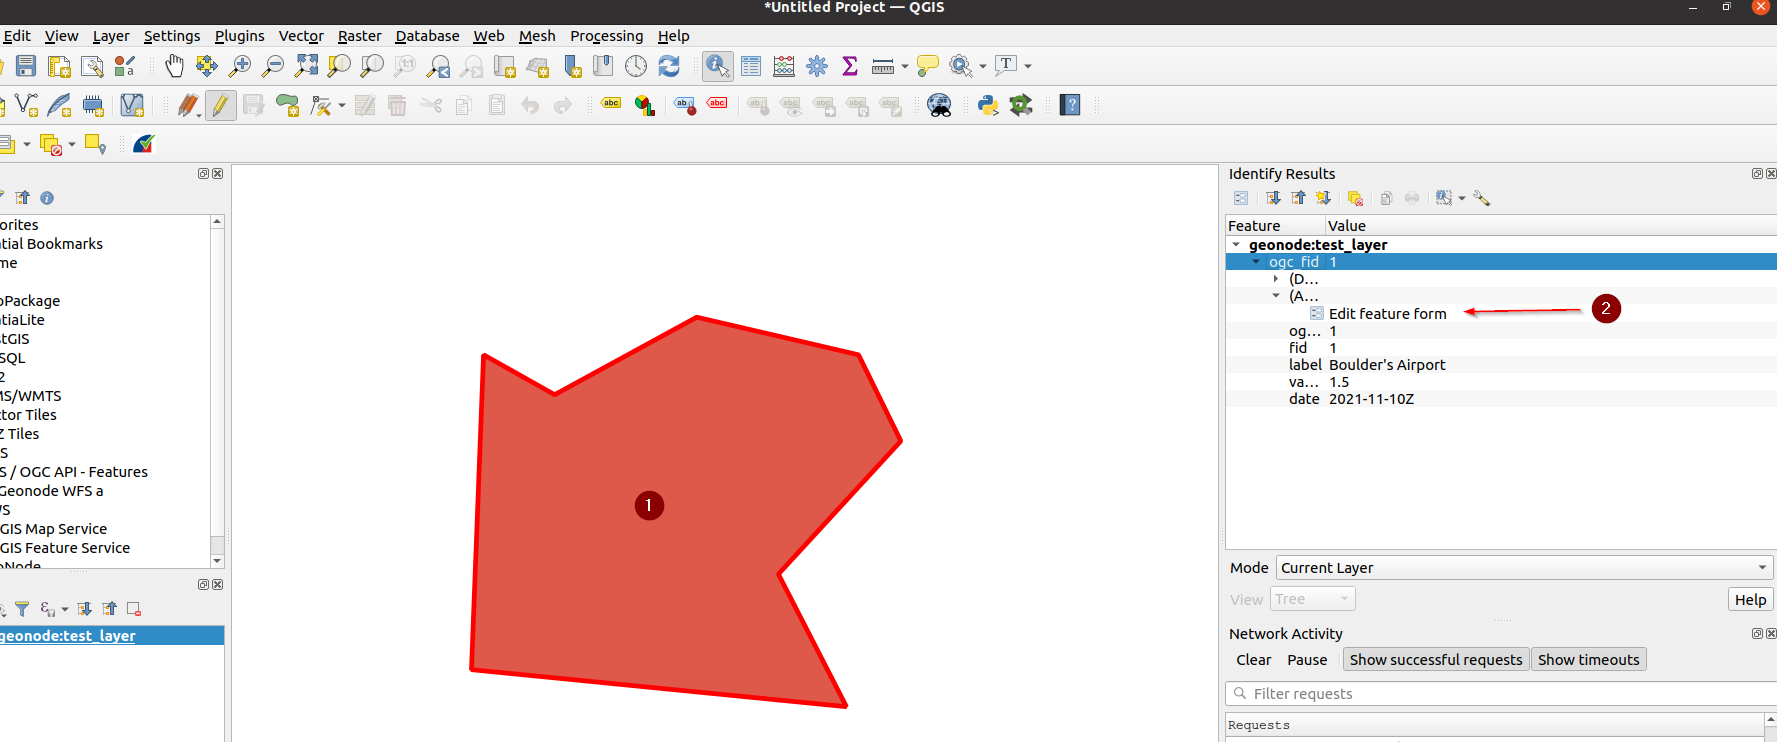
-
That will show a small form with the values, change few ofthem and click on
OKbutton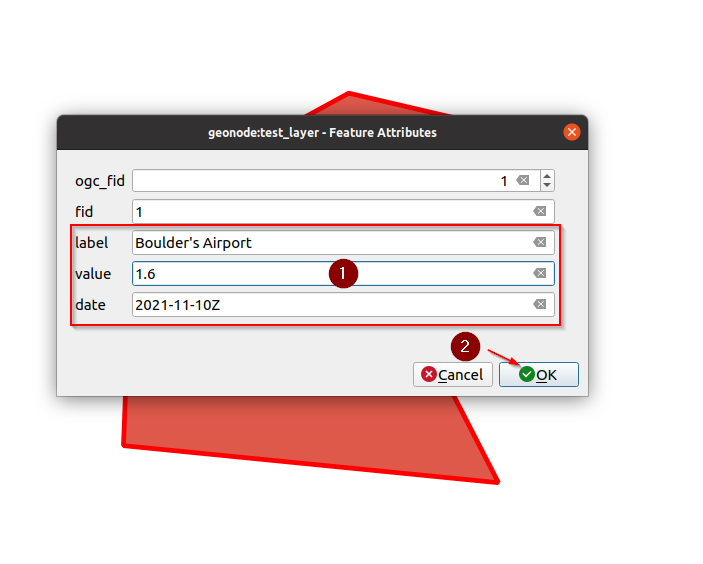
-
A small
floppy diskbutton will pop near the editing one meaning that there are some pending changes to be committed to the server; click on it in order to persist the changes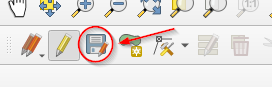
-
At a successfull commit, the
floppy diskbutton will be disabled again
Editing Contents: Geometries
-
Enable
Editing Modeon QGIS and click on theInfobutton -
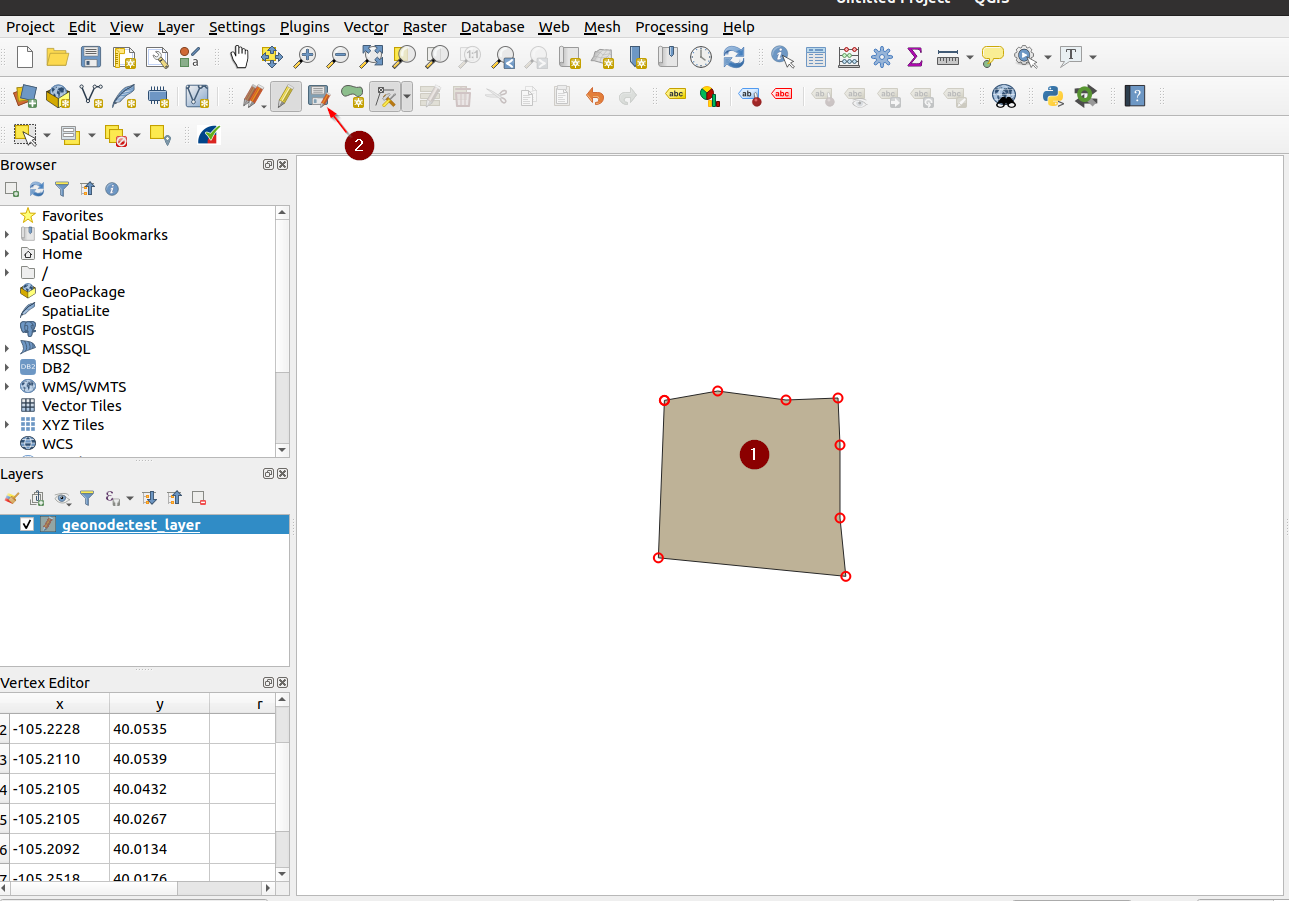
Click on the
Vertex Tooland enable it; from now on by moving over a geometry you will be able to modify its vertices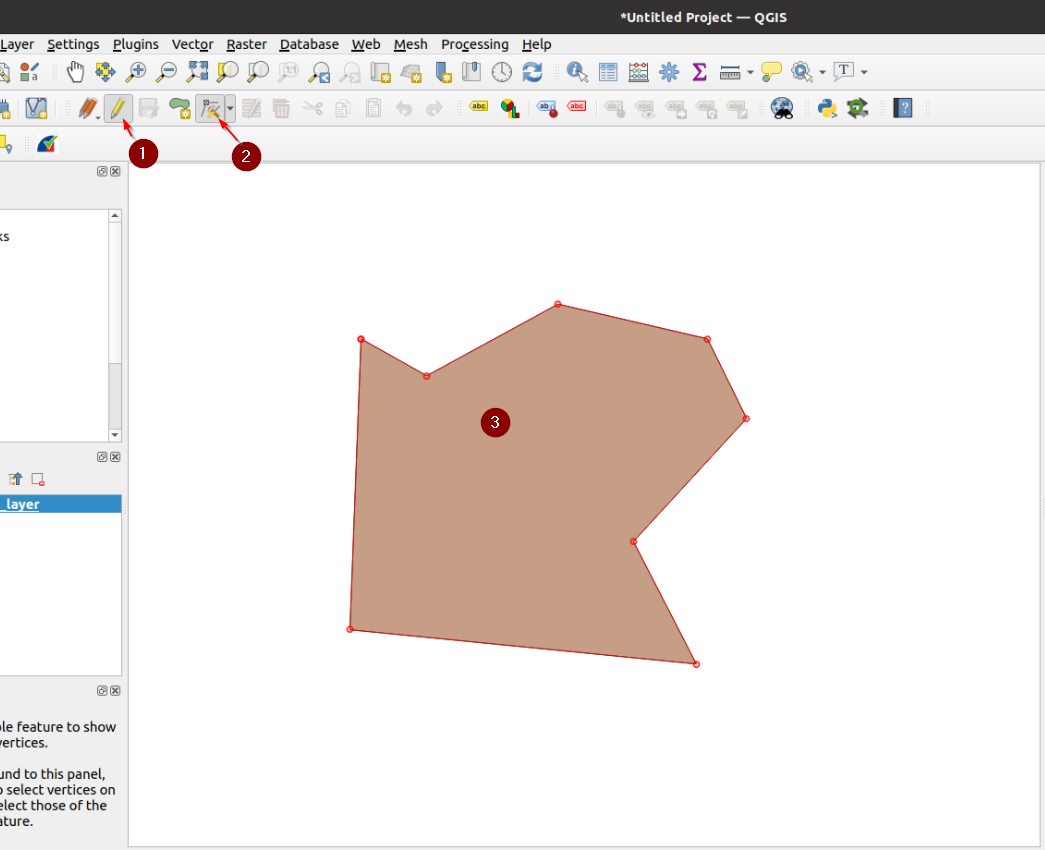
-
Once happy with the changes, save them like we have done previously on the values
-
With this specific layer most probably you will get an error on the bounding box extension; this is caused by the native projection of the layer and the QGIS not being able to correctly manage the
dateline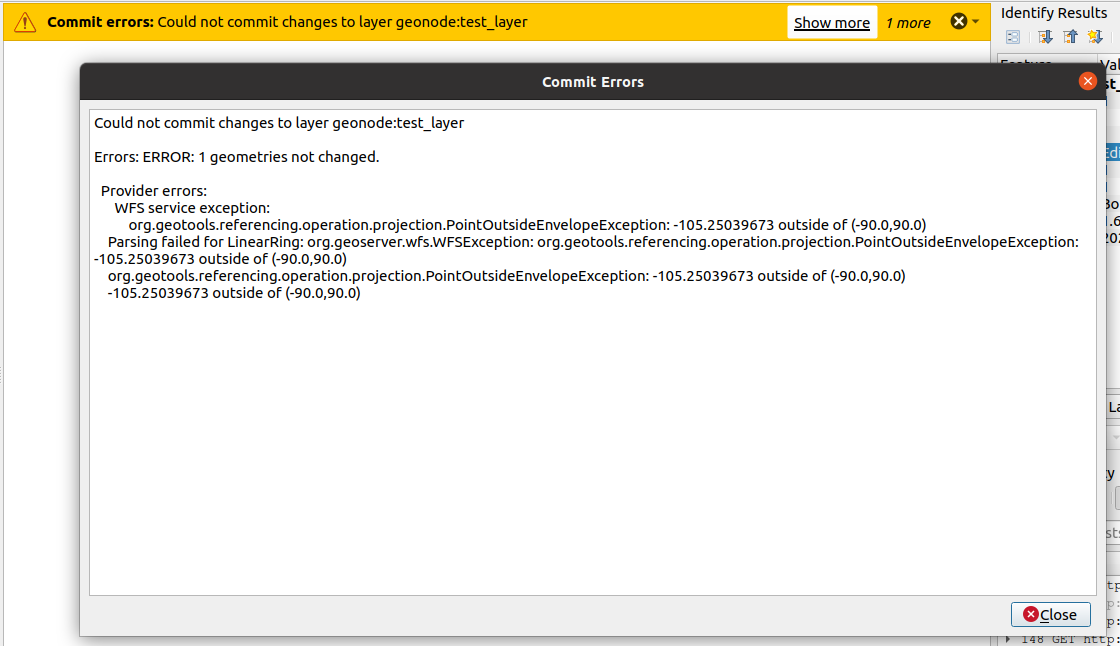
-
It is still possible to edit the layer from GeoNode directly, however in order to fix this issue easily, we will convert the layer into a
Mercator Projectedone.
We will pass through the database in order to perform such operation. In the next section we will see how to re-project and store and a DB table a layer and then push it back to GeoNode.