Publishing data from a DB table
In this section we are going to publish on GeoNode a layer which is already present on a DB table.
In particular those are the steps that will allow us to convert the Test Layer, the empty layer created in the previous sections, to a Mercator Projected one and publish it again on GeoNode:
- Download the
Test Layeras anESRI Shapefile - Use the
GDAL ogr2ogrutitlities to reproject it fromWorld Geodetic System 1984 EPSG:4326,LatLoncoordinate reference system used inGPS, toSpherical Mercator EPSG:3857,metersprojected coordinate system used for rendering maps in Google Maps, OpenStreetMap, and tiled layers in general. - Use the
GDAL ogr2ogrutitlities to import the file into a local Data Base. - Publish the layer on GeoServer.
- Publish the layer on GeoNode.
- Try to edit it again from an external client (QGIS).
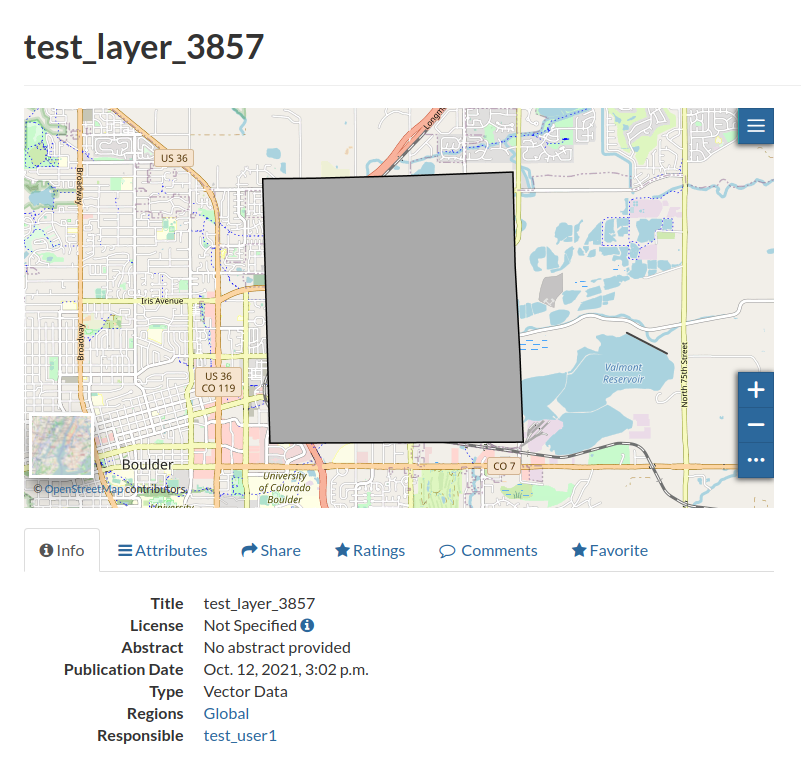
Download the Layer as an ESRI Shapefile
-
Go to the
Test Layerdetails page, move toDownload Layer > Data > Zipped Shapefile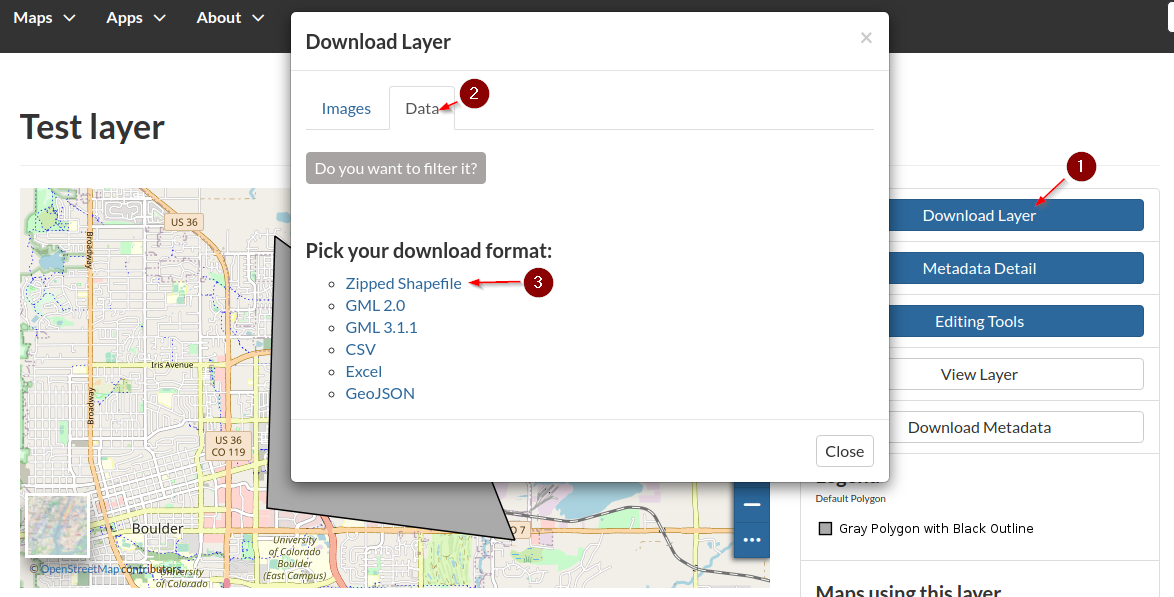
-
Store it on a local folder, e.g.
Downloads(this is the default target folder used by the browser)
Project to EPSG:3857
-
Open a terminal windows and move to the
Downloadsfolder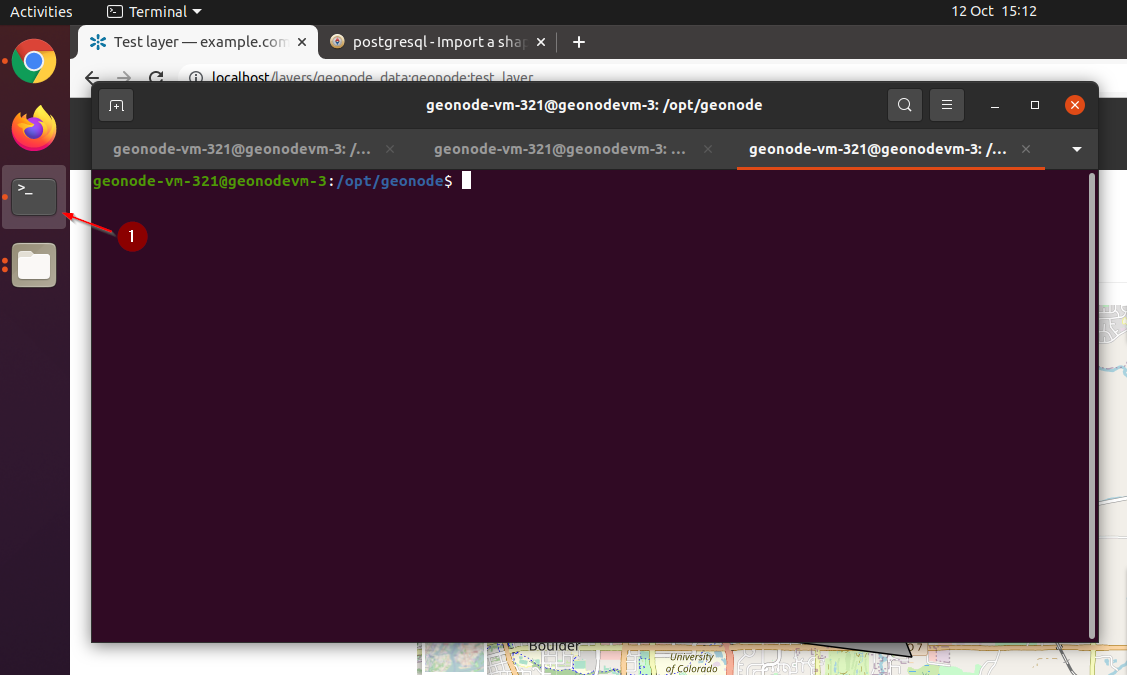
cd cd Downloads -
Create a folder named
test_layerand unzip the contents of the downloaded archive inside itmkdir test_layer cd test_layer/ unzip ../test_layer.zip -
Use the
GDAL ogr2ogrutitlities to reproject it fromWorld Geodetic System 1984 EPSG:4326,LatLoncoordinate reference system used inGPS, toSpherical Mercator EPSG:3857,metersprojected coordinate system used for rendering maps in Google Maps, OpenStreetMap, and tiled layers in general# ogr2ogr <target srs> <source srs> <format> <target filename> <source filename> ogr2ogr -t_srs "EPSG:3857" -s_srs "EPSG:4326" -f 'ESRI Shapefile' test_layer_3857.shp test_layer.shp -
A new
Shapefilewill be created inside the same foldergeonode-vm-321@geonodevm-3:~/Downloads/test_layer$ ll total 48 drwxrwxr-x 2 geonode-vm-321 geonode-vm-321 4096 Oct 12 15:17 ./ drwxr-xr-x 3 geonode-vm-321 geonode-vm-321 4096 Oct 12 15:14 ../ -rw-rw-r-- 1 geonode-vm-321 geonode-vm-321 532 Oct 12 15:17 test_layer_3857.dbf -rw-rw-r-- 1 geonode-vm-321 geonode-vm-321 425 Oct 12 15:17 test_layer_3857.prj <-- the SRS definition file -rw-rw-r-- 1 geonode-vm-321 geonode-vm-321 300 Oct 12 15:17 test_layer_3857.shp <-- the new projected file -rw-rw-r-- 1 geonode-vm-321 geonode-vm-321 108 Oct 12 15:17 test_layer_3857.shx -rw-rw-r-- 1 geonode-vm-321 geonode-vm-321 5 Oct 12 14:10 test_layer.cst -rw-rw-r-- 1 geonode-vm-321 geonode-vm-321 531 Oct 12 14:10 test_layer.dbf -rw-rw-r-- 1 geonode-vm-321 geonode-vm-321 335 Oct 12 14:10 test_layer.prj -rw-rw-r-- 1 geonode-vm-321 geonode-vm-321 300 Oct 12 14:10 test_layer.shp -rw-rw-r-- 1 geonode-vm-321 geonode-vm-321 108 Oct 12 14:10 test_layer.shx -rw-rw-r-- 1 geonode-vm-321 geonode-vm-321 219 Oct 12 14:10 wfsrequest.txt
Publish as a DB Table
-
Use the
GDAL ogr2ogrutitlities to import the file into a local Data Baseogr2ogr -f "PostgreSQL" PG:"host=localhost user=geonode password=geonode dbname=geonode_data" -overwrite test_layer_3857.shp -
Login into GeoServer as an
admin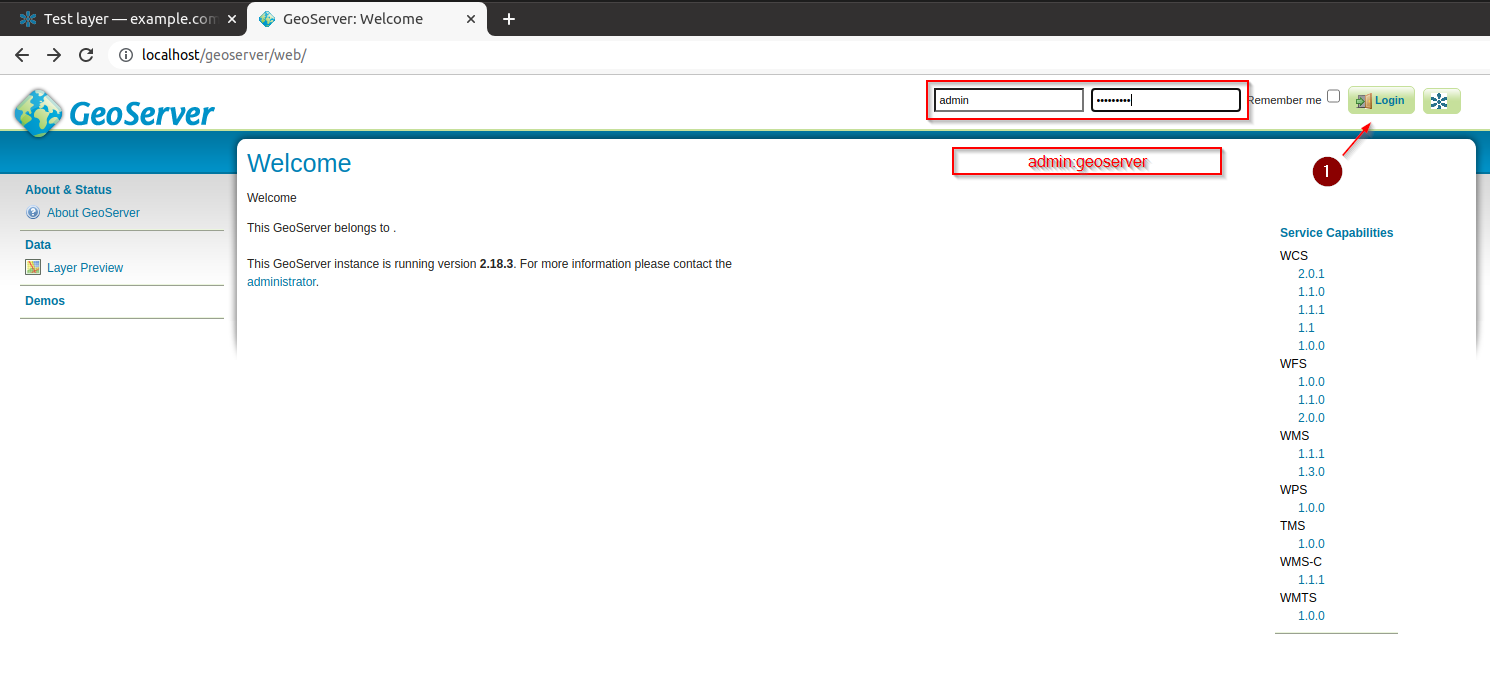
-
Move to
Data > Layersand click onAdd new Layer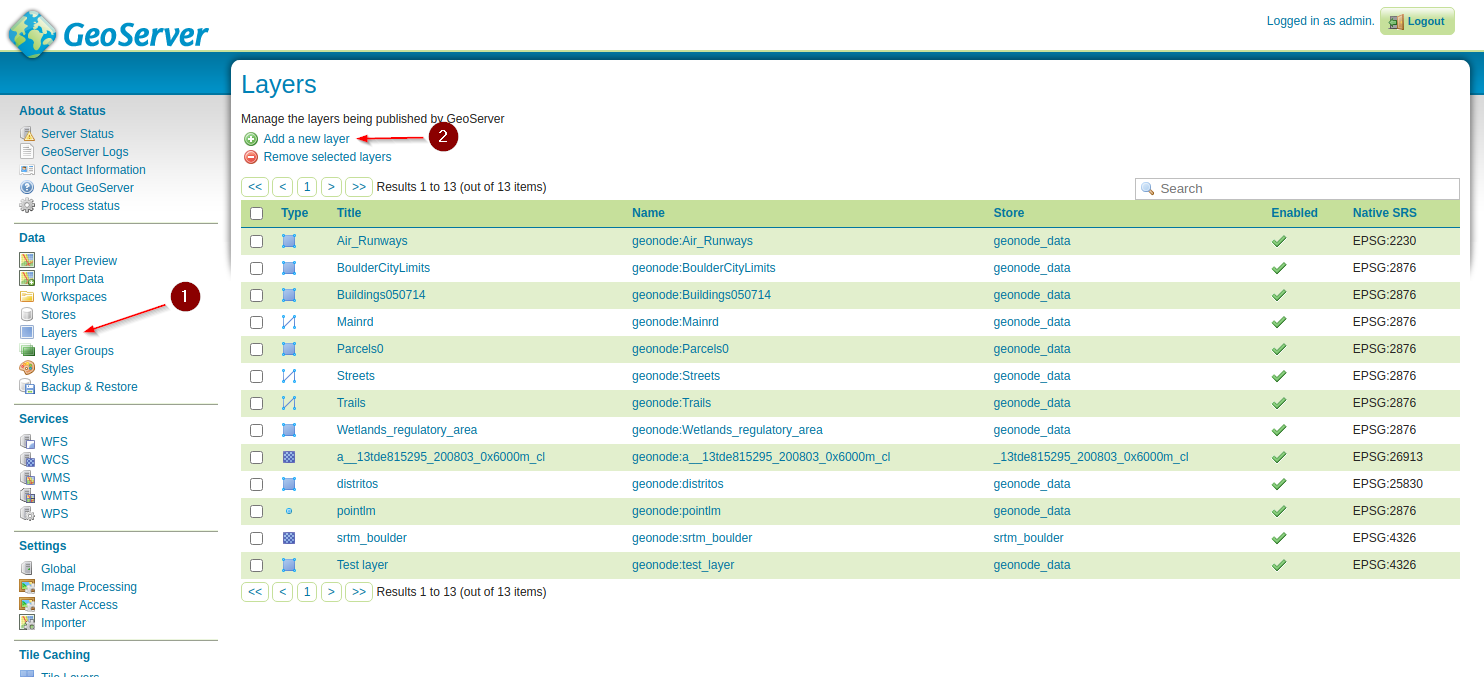
-
Select
geonode:geonode_data, the data store connected to thegeonode_dataDB, created and managed by GeoNode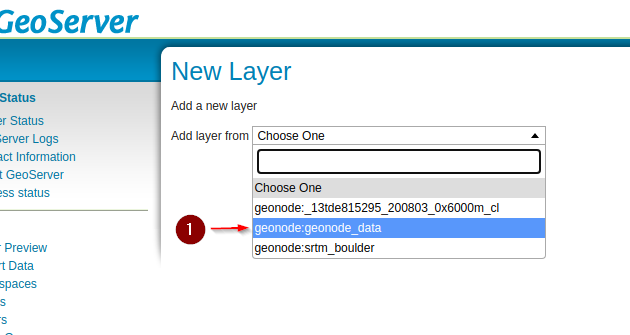
-
From the list of available tables, select
test_layer_3857and click onPublish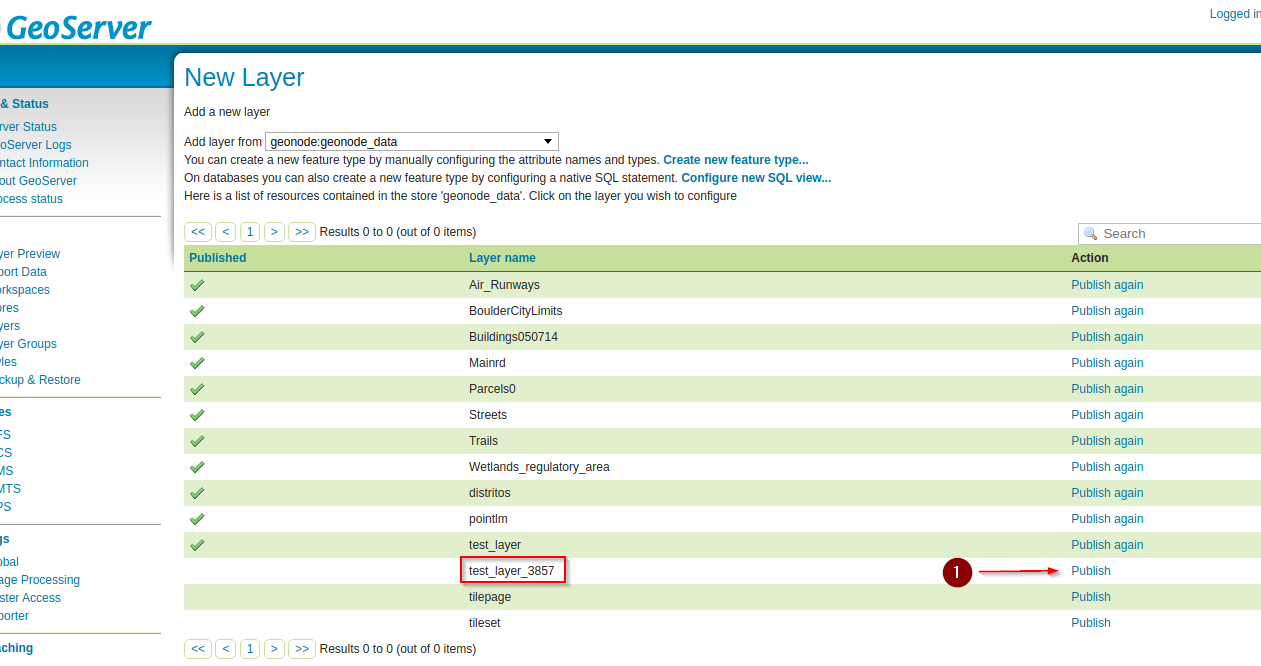
-
Scroll down to the
Bounding Boxessection, generate thebboxesandSave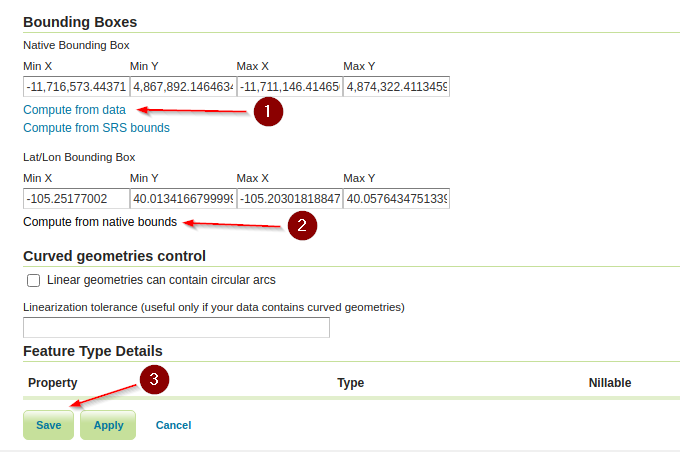
Publish the Layer into GeoNode
-
Go back to the terminal,
activatethegeonodevirtual environment and move to/opt/geonodeworkon geonode cd /opt/geonode -
Execute the
updatelayersmanagement command in order to publish the new layer from GeoServer./manage_dev.sh updatelayers -h usage: manage.py updatelayers [-h] [-i] [--skip-unadvertised] [--skip-geonode-registered] [--remove-deleted] [-u USER] [-f FILTER] [-s STORE] [-w WORKSPACE] [-p PERMISSIONS] [--version] [-v {0,1,2,3}] [--settings SETTINGS] [--pythonpath PYTHONPATH] [--traceback] [--no-color] [--force-color] Update the GeoNode application with data from GeoServer optional arguments: -h, --help show this help message and exit -i, --ignore-errors Stop after any errors are encountered. --skip-unadvertised Skip processing unadvertised layers from GeoSever. --skip-geonode-registered Just processing GeoServer layers still not registered in GeoNode. --remove-deleted Remove GeoNode layers that have been deleted from GeoSever. -u USER, --user USER Name of the user account which should own the imported layers -f FILTER, --filter FILTER Only update data the layers that match the given filter -s STORE, --store STORE Only update data the layers for the given geoserver store name -w WORKSPACE, --workspace WORKSPACE Only update data on specified workspace -p PERMISSIONS, --permissions PERMISSIONS Permissions to apply to each layer --version show program's version number and exit -v {0,1,2,3}, --verbosity {0,1,2,3} Verbosity level; 0=minimal output, 1=normal output, 2=verbose output, 3=very verbose output --settings SETTINGS The Python path to a settings module, e.g. "myproject.settings.main". If this isn't provided, the DJANGO_SETTINGS_MODULE environment variable will be used. --pythonpath PYTHONPATH A directory to add to the Python path, e.g. "/home/djangoprojects/myproject". --traceback Raise on CommandError exceptions --no-color Don't colorize the command output. --force-color Force colorization of the command output../manage_dev.sh updatelayers --skip-geonode-registered -u test_user1 -w geonode -f test_layer_3857 -
Verify that the new layer has been created on GeoNode and it belongs to
test_user1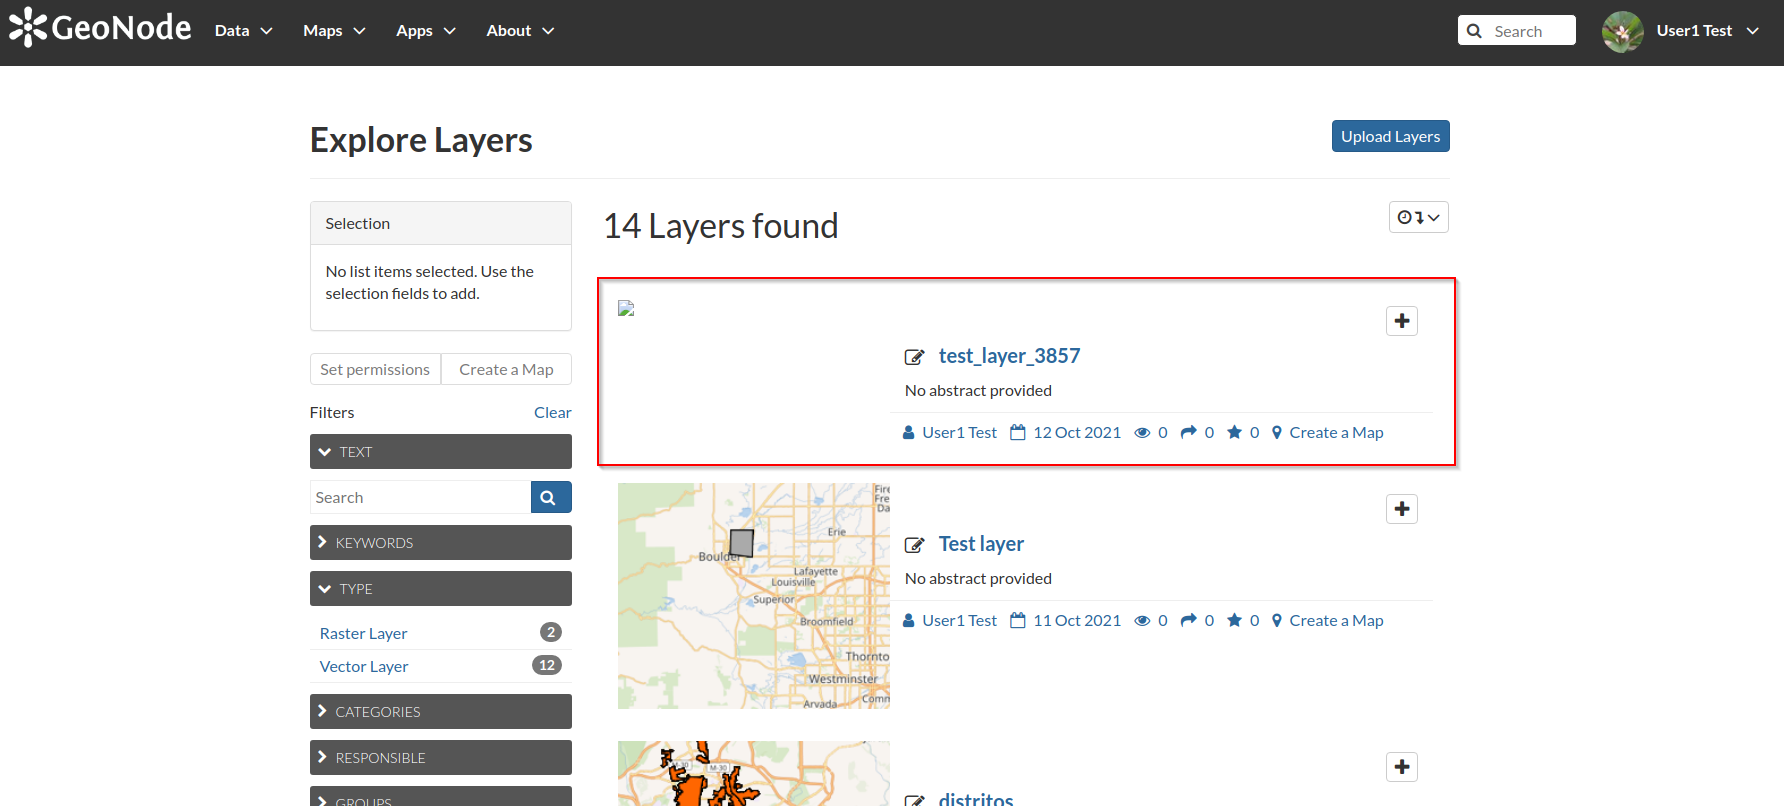
-
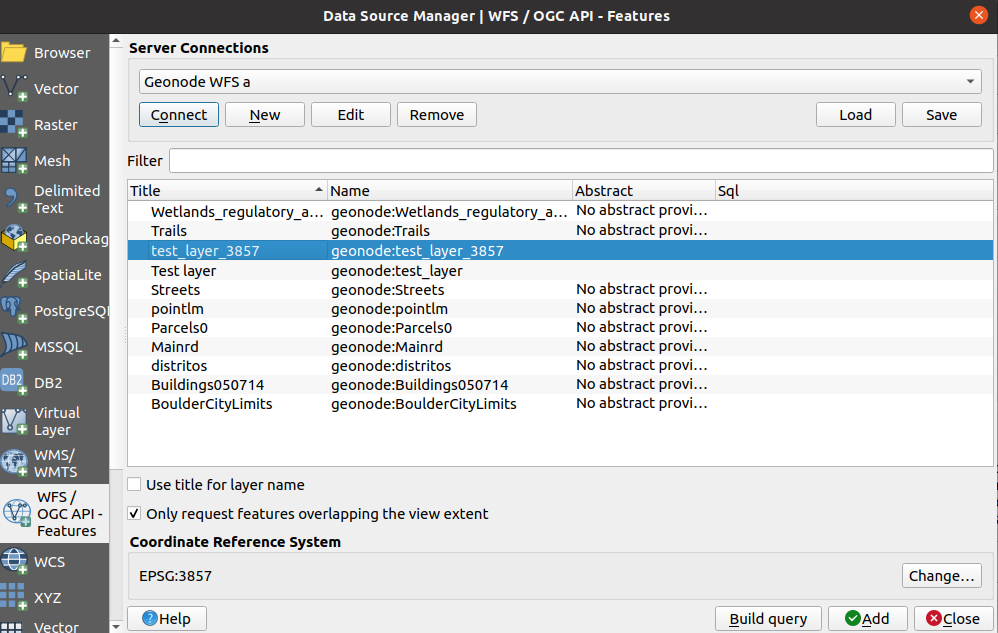
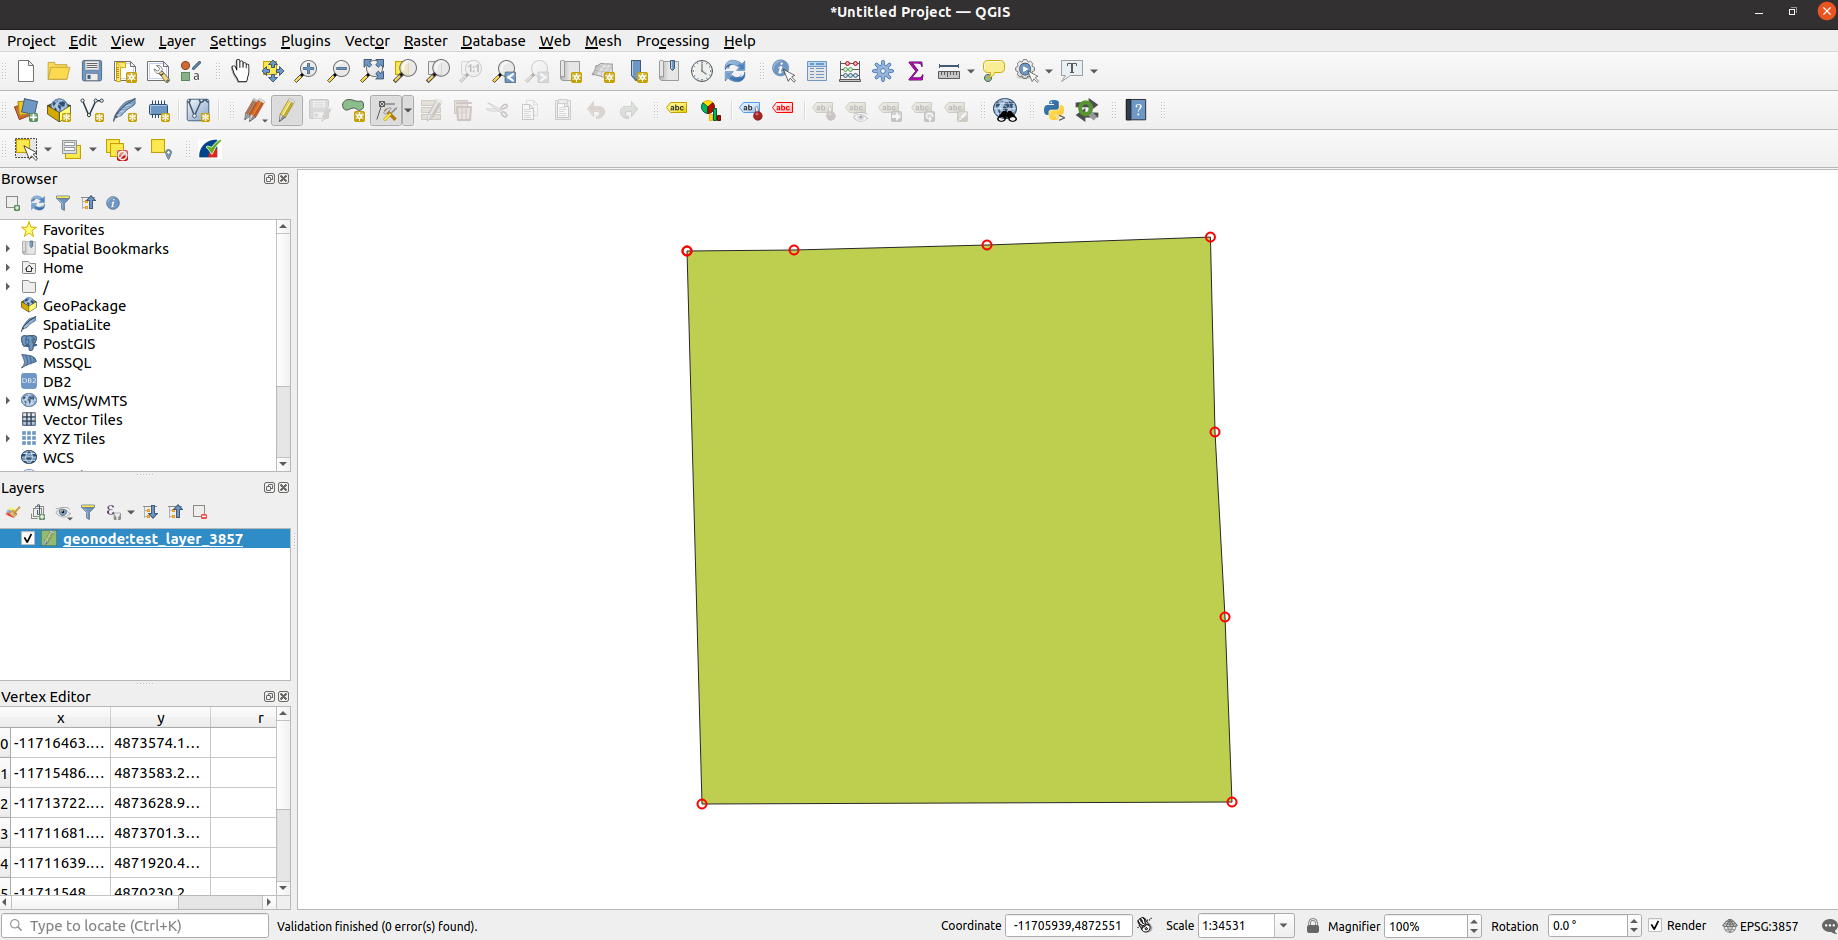
Refresh the QGIS Desktop connection, load the new layer and try modifying the geometries
-
Verify on GeoNode that the geometries have been committed; remember to clear the image browser cache in order to see the changes